DiveOverlay helps you enrich your underwater videos — whether you scuba dive or freedive — by overlaying dive telemetry such as depth and temperature. Imagine exploring a shipwreck or drifting through a cave — how much more engaging would your footage be if viewers could also see how deep you were or how cold it was?
DiveOverlay takes data from your dive computer, aligns it with your video, and generates a small overlay video file. You can then use this file in your favorite editing software, such as DaVinci Resolve or Adobe Premiere.
1. Prepare Your Data for Processing
DiveOverlay reads data in Universal Dive Data Format, which is supported by most manufacturers, or in Subsurface format.
For the exact steps in the programs of the individual manufacturers, please read the corresponding instructions. Make sure that the file is exported with the extension .uddf.
Subsurface is an open-source dive log available for Windows, Mac, Linux, iOS, and Android, and it works with most dive computers. You can download Subsurface here.
After installation:
- Go to Import → Import from dive computer
- Select your dive computer model and click Download
- Once imported, choose the dive you want to use
- Export it via File → Export → Subsurface XML, then save the file to your computer (file extension .ssrf or .xml)
Your dive data is now ready for DiveOverlay.
2. Add Your Files to DiveOverlay
Drag and drop both your exported logfile and the video files from your dive into the drop area on the DiveOverlay website.
Please note that you must use the original video files and not edited ones, as otherwise the time information in the metadata may be incorrect!
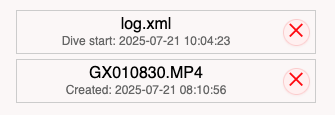
Once added, the files will appear in a list. Each file shows time information, which may be useful later. The logfile tile indicates when the dive began, and each video file tile shows when its clip was created.
3. Adjust Time Shift
Accurate overlays depend on synchronized clocks between your dive computer and camera. If possible, sync both devices by connecting them with your smartphone before diving.
If times still don’t match (e.g., due to time zones or unsynced clocks), adjust them in the Time Shift settings. The system can detect the approximate difference between your dive computer and camera times and suggest an initial offset, if the time difference is caused by incorrect time zone settings. You should review the suggestion before applying it.
The dive computer is the reference because it is often set to the local time without any timezone information.
Example 1:
- Dive computer start time: 09:00
- Video creation time: 12:10 UTC
- Real difference: 10 minutes into the dive (you started filming 10 minutes after diving down)
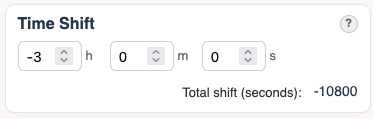
In this case, set the Time Shift to -3 hours to align times correctly.
Example 2:
- Dive computer start time: 10:00
- Video creation time: 08:14 UTC
- Real difference: 14 minutes into the dive (you started filming 14 minutes after diving down)
In this case, set the Time Shift to +2 hours to align times correctly.
For smaller mismatches, adjust seconds or minutes as needed.
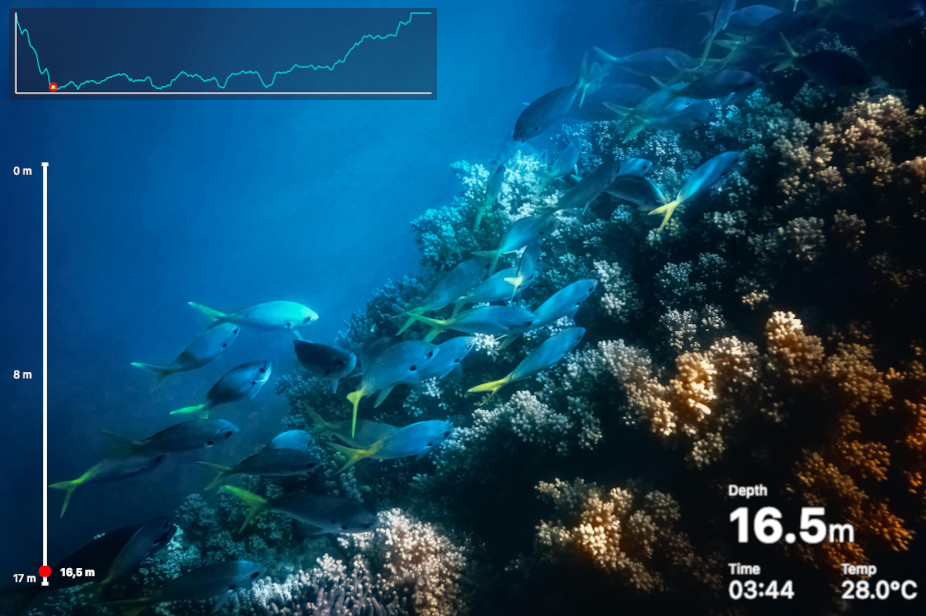
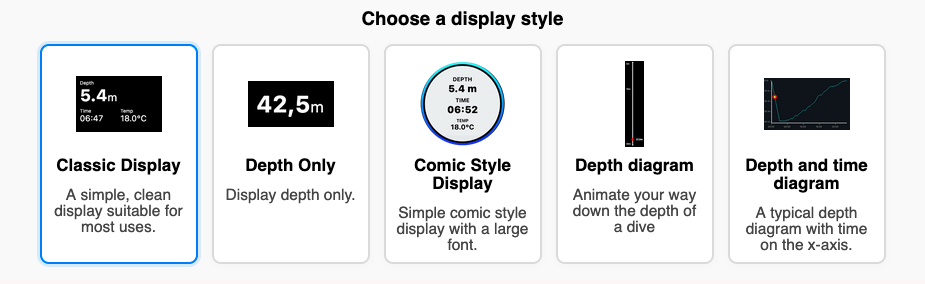
4. Choose a Display Style
DiveOverlay offers several display styles, with more in development. If you have wishes for new styles, send them to info@diveoverlay.com.
For now, pick one of the available styles to continue.
5. Select your preferred units
DiveOverlay supports units from the metric (m/°C) and imperial (ft/°F) systems.
6. Generate the Overlay
When everything is set, click “Let’s Go!” to start processing.
Only metadata (timestamps) from your video files will be read, without uploading the files themselves. The logfile will be uploaded to our servers and deleted afterwards.
Once finished, you’ll see a list of generated overlays. Download them to your computer.
If you see an error, check the message. If it’s unclear, contact us at info@diveoverlay.com
Note: Some video players may not show the overlay correctly because of transparency settings. In your editing software, it will appear normally.
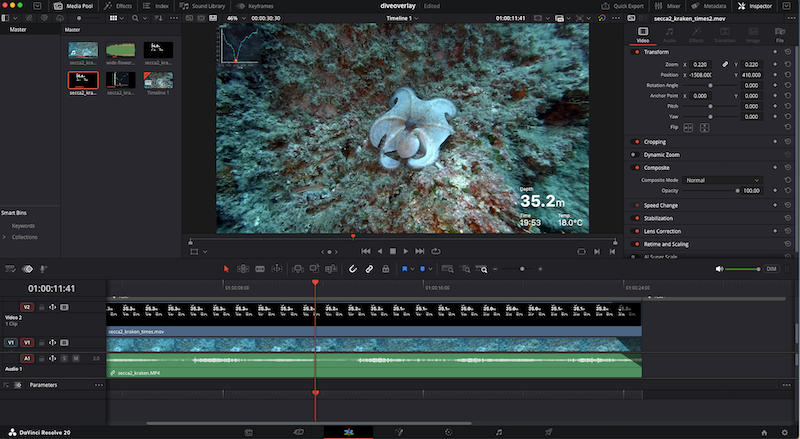
7. Using the Overlay
Open your project in your editing software. Import the overlay file and place it on the timeline directly above the corresponding video clip.
Adjust its size and position as needed. If you’ve already cut the clips, remember to align the overlay clips as well.
You can create and add multiple overlays with different styles if you like.
Tips for Best Results
- Film your dive computer for a few seconds during the dive. This provides a handy reference for synchronization.
- Sometimes, overlays may not perfectly match the values shown on your dive computer’s display. This is due to differences in how some dive computers store vs. display data. We hope to work with vendors to resolve this in the future.