Dives are magical moments: weightless gliding, colorful coral reefs, encounters with marine life. Many divers take their GoPro underwater to capture these memories. But often the footage looks less spectacular afterwards than it felt in the moment. In this article, we’ll show you practical tips to enhance your GoPro diving videos – from camera settings to post-production and data overlays.
1. Choose the Right GoPro Settings
The foundation for an exciting video is already set during filming. Pay attention to:- Resolution & FPS: 4K at 30fps gives sharp images. For slow motion, 60fps is worth it.
- Wide-angle mode: Helps capture large scenes like wrecks or schools of fish.
- Enable Protune: This allows you to adjust white balance and colors better during editing.
Pro tip: Set the white balance manually (e.g. 5500K) to reduce the typical “blue tint problem” underwater.
2. Color Correction Makes the Difference
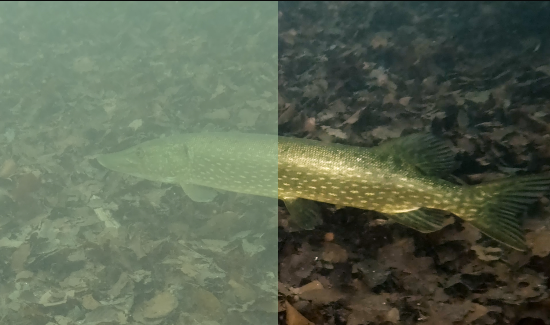
Underwater, especially in greater depths while scuba diving, the sea filters out red and warm tones – making videos often look bluish and low-contrast.- Use red filters (for tropical waters) or magenta filters (for greenish water) when filming.
- Even better: invest in a good video light, especially for deeper dives.
- Set the color profile of the GoPro to “Flat.” This will allow you to get more out of it later during post-processing.
- In editing software (e.g. DaVinci Resolve, Premiere Pro), color grading can bring your footage to life.
3. Film Scenes Deliberately
Exciting videos thrive on storytelling:- Don’t film everything continuously – shoot short clips of 10–20 seconds.
- Vary perspectives: close-ups of fish, wide angles of corals or wrecks.
- Keep the camera steady – slow pans instead of hectic movements.
3. Overlay Dive Computer Data
A real “wow effect” comes when viewers can see your depth, dive time, or water temperature.With tools like DiveOverlay you can automatically sync your dive computer data with your video. This creates an overlay showing depth, time, and other values directly in the film – similar to sports videos.
Example: While drifting past a wreck, the viewer sees “32 m depth – 18 minutes dive time” on screen. This makes the video more immersive and informative.
5. Edit Videos for Excitement
Editing lets you control the tension:- Cut long passages – better a 3-minute highlight reel than 20 minutes of “everything.”
- Use music that matches the flow of the dive.
- Add text overlays (e.g. location, dive site, date).
- Include smooth transitions (e.g. fades between scenes).
Conclusion
Your GoPro diving videos don’t have to feel boring. With the right settings, some post-processing, and clever extras like data overlays, you can turn your films into real experiences – not just for yourself, but also for friends, family, or your social media community.Try it on your next dive – and make your underwater world tangible for others!